Easily make gel nails yourself with the GellyNails Kit 💅🏼 Tips & tricks for use.
If you've always dreamed of doing your own gel nails, then you've come to the right place! In this blog post I share my best tips and tricks that I have learned over time. Whether you're a beginner or more experienced, this guide will help you create perfect gel nails that last for weeks. Let's get started!
🛠️ The right materials
Before you start nail design, it is important to have the right materials. Here are the basic things you need:
- Nail lamp: A UV or LED lamp is essential to cure the gel.
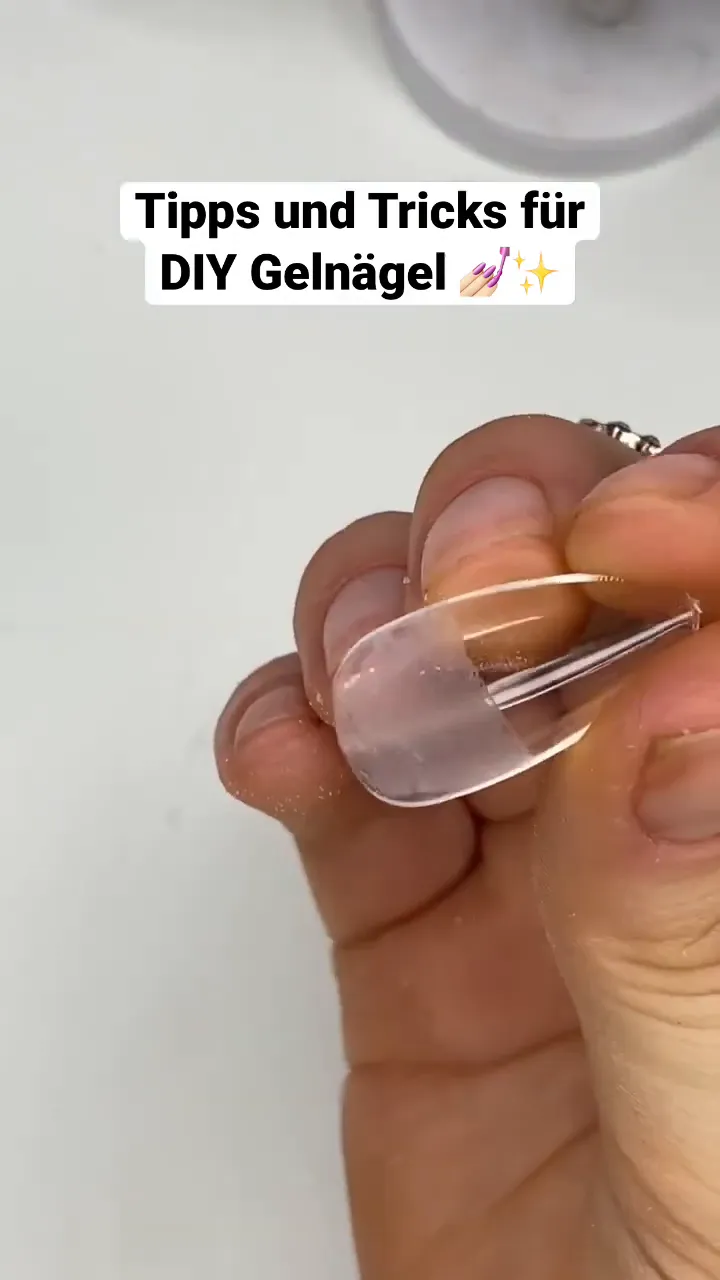
- Gel Nail Tips: Choose the right size that fits your nail perfectly from side to side.
- Base and top coat: These are important for the durability and shine of your nails.
- Acetone: To remove gel nails when you want to change them.
- Nail files and buffers: To prepare the nails before application.
With these materials you are well equipped to do your gel nails.
🔍 Nail preparation
Preparing your nails is crucial for a good result. Here are the steps you should follow:
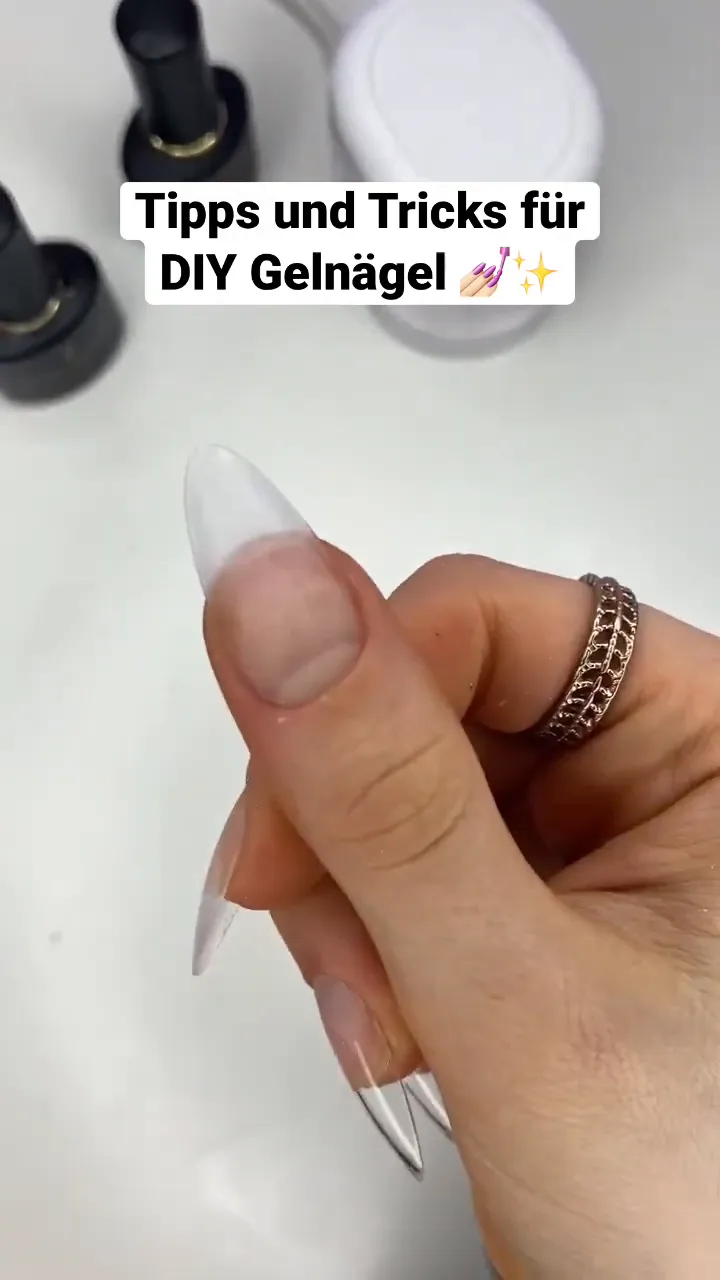
- Cut and shape your nails: Make sure they are the desired length and shape.
- Push back the cuticles: Use a cuticle remover to gently push back the cuticles.
- Roughen the nail surface: This ensures that the gel adheres better.
This preparation will help you achieve a professional result.
💡 Tips for use
When applying the gel, there are some important points you should keep in mind:
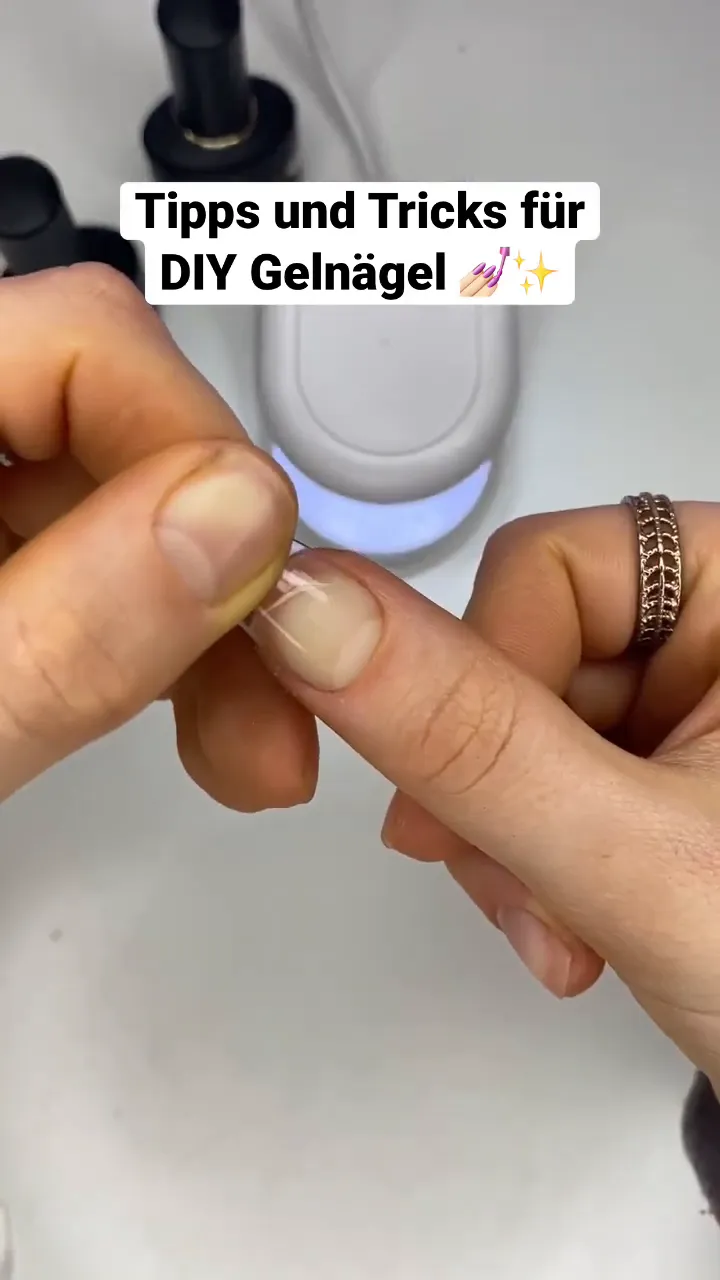
- Use thin layers: Start with a thin layer of gel to achieve an even result.
- Position the lamp correctly: Make sure your hand is well positioned under the lamp to cure the gel evenly.
- Apply the gel evenly: Be careful not to get the gel on the skin, as this can encourage flaking.
These tips will help you get the best results!
🎨 Color application and design
After the base is ready, you can start applying the paint. Here are some tips to create the perfect design:
- Choose your favorite colors: Experiment with different colors and designs to find your own style.
- Apply multiple coats: For a more intense color, you can apply multiple thin coats.
- Use Nail Art Tools: Use brushes or pens to create detailed designs.
With these tips you can create creative and individual designs!
⏳ Durability of gel nails
To ensure your gel nails last, keep the following points in mind:
- Avoid Moisture: Keep your nails dry, especially when washing dishes.
- Wear gloves: Protect your nails when doing housework to avoid chipping.
- Care for your nails: Use nail oil regularly to keep your nails supple.
These simple steps will help you extend the life of your gel nails.
🔄 Removing gel nails
If you want to remove your gel nails, proceed carefully:
- Use acetone: Soak a cotton pad in acetone and place it on the nail.
- Wait a few minutes: Allow the acetone to work to dissolve the gel.
- Gently scrape off the gel: Use a nail scraper to gently remove the gel.
This way you can remove your gel nails safely and effectively.
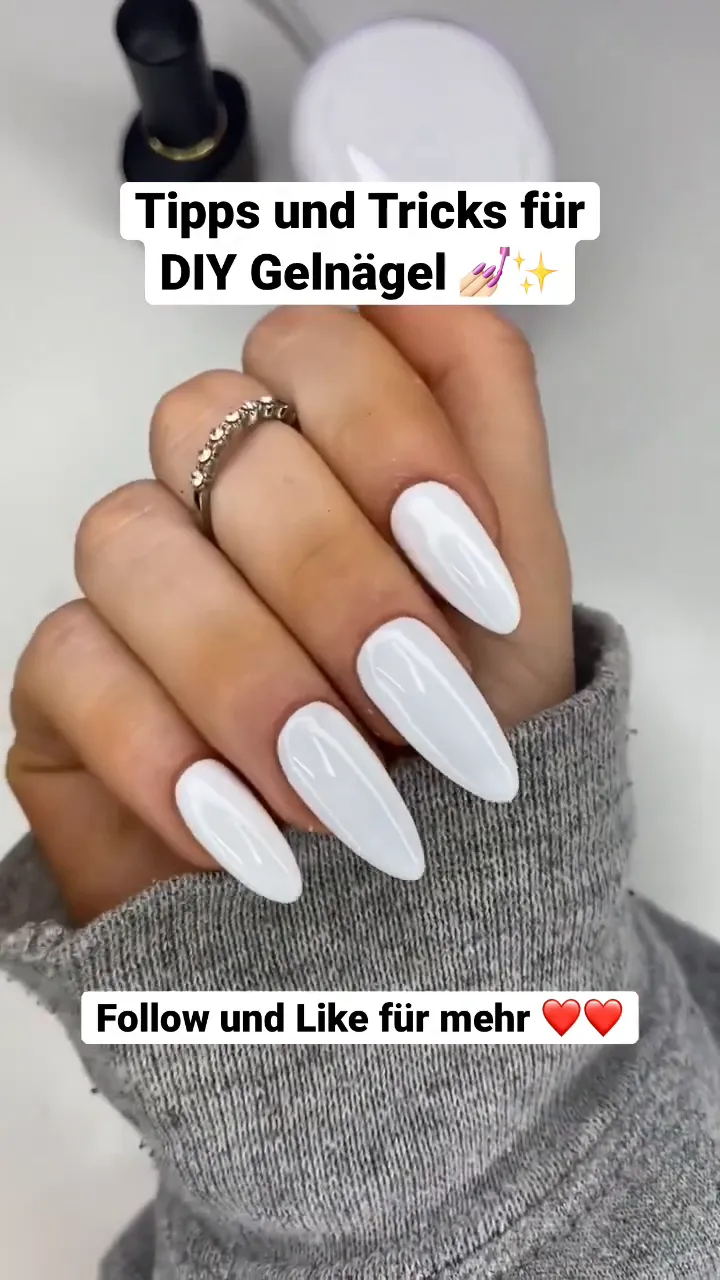
✨ Conclusion
Doing gel nails yourself can be a fun and rewarding experience. With the right materials, techniques, and a little practice, you can create beautiful nails that last. I hope these DIY gel nail tips & tricks have helped you! For more nail art inspiration, feel free to follow me for more videos and instructions!