Can you fill gel nails? YES! 💅🏻 Step by step instructions for filling gel nails!
Filling in Gelx nails can be challenging, especially if you're doing it for the first time. In this blog post I'll show you the steps I follow to get my Gelx nails back in tip-top shape after a six week refill period. Let's get started right away!
🔍 Nail preparation
Before we start filling, it is important to properly prepare the nails. I start by milling all the color polish off the nails. This ensures that we have a clean base and can remove any lifts that may have formed.
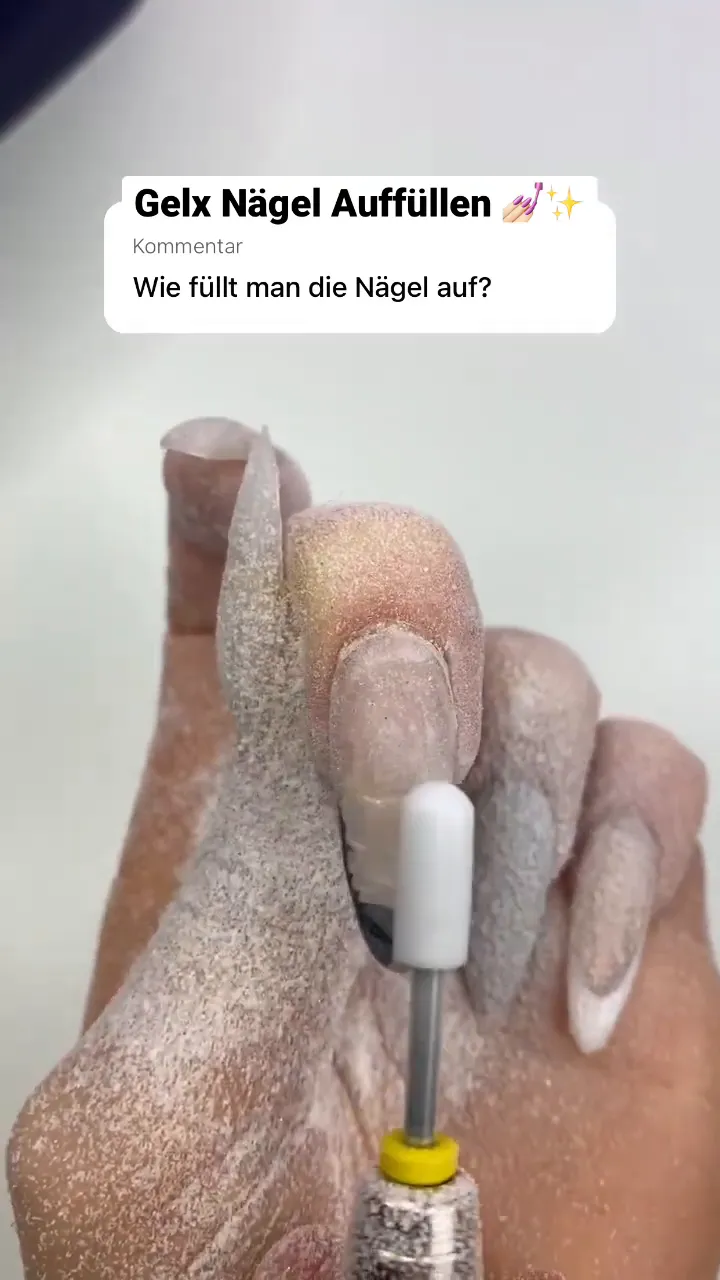
After I remove the colored polish, I take a close look at the nails. I look for lifts, which I then carefully mill out. It is important to treat not only the transition between the natural nail and the gel, but also the nail itself to ensure good adhesion for the new gel.

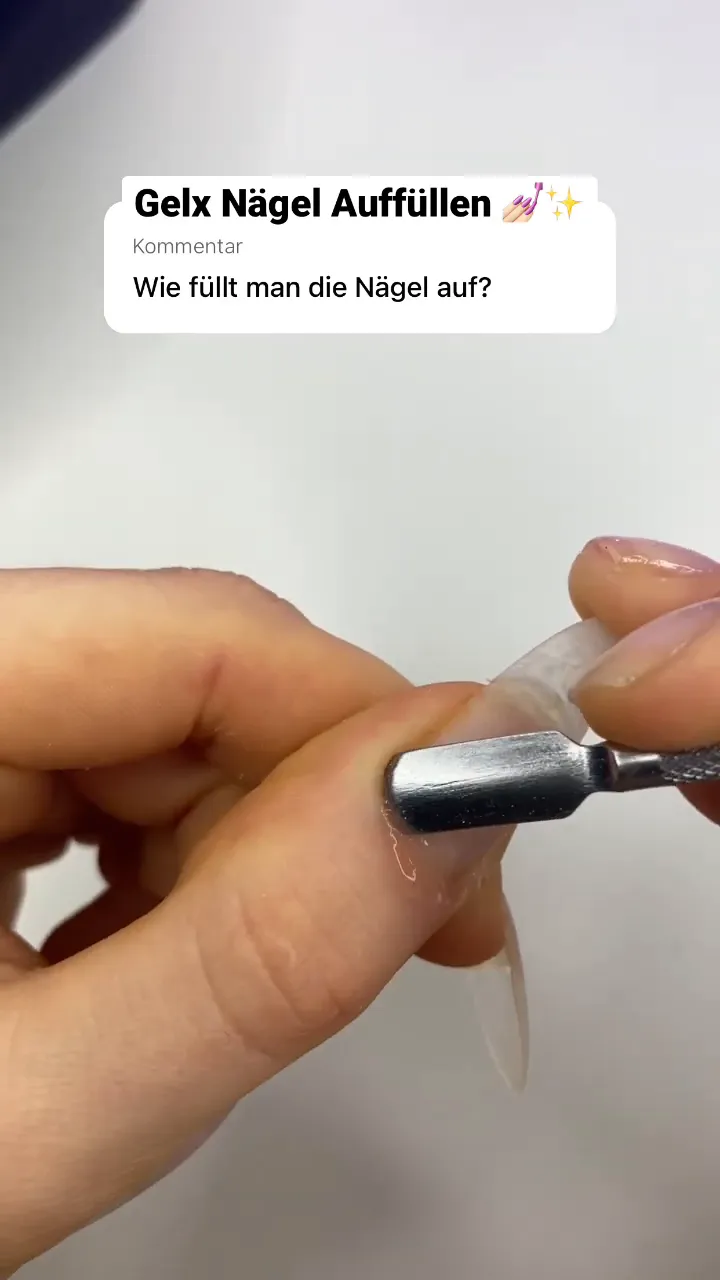
✂️ Nail care and preparation
Next step is nail care. I take a piece of the regrown nail and roughen it to slightly roughen the surface. This will help the new gel adhere better.
Now it's time to push back the cuticles. This is an important step to achieve a clean finish and optimally prepare the nail. Then I apply a dehydrator followed by a primer. These products help remove moisture and improve gel adhesion.
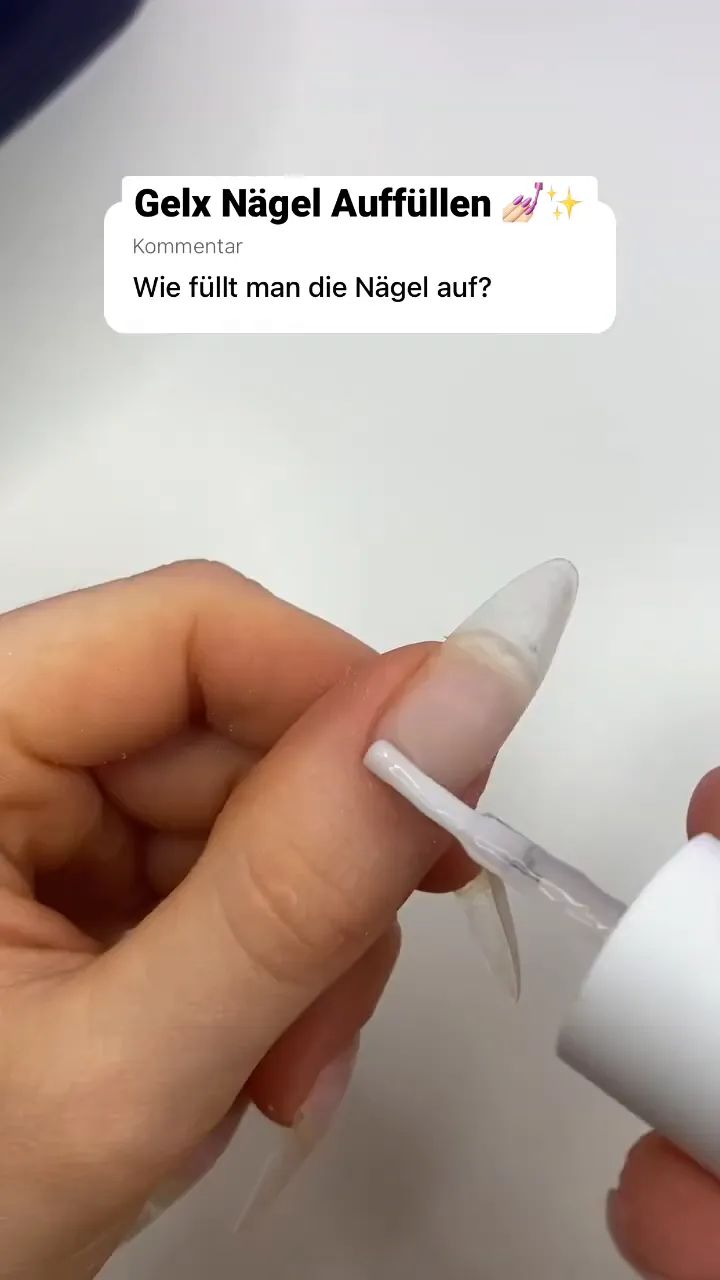
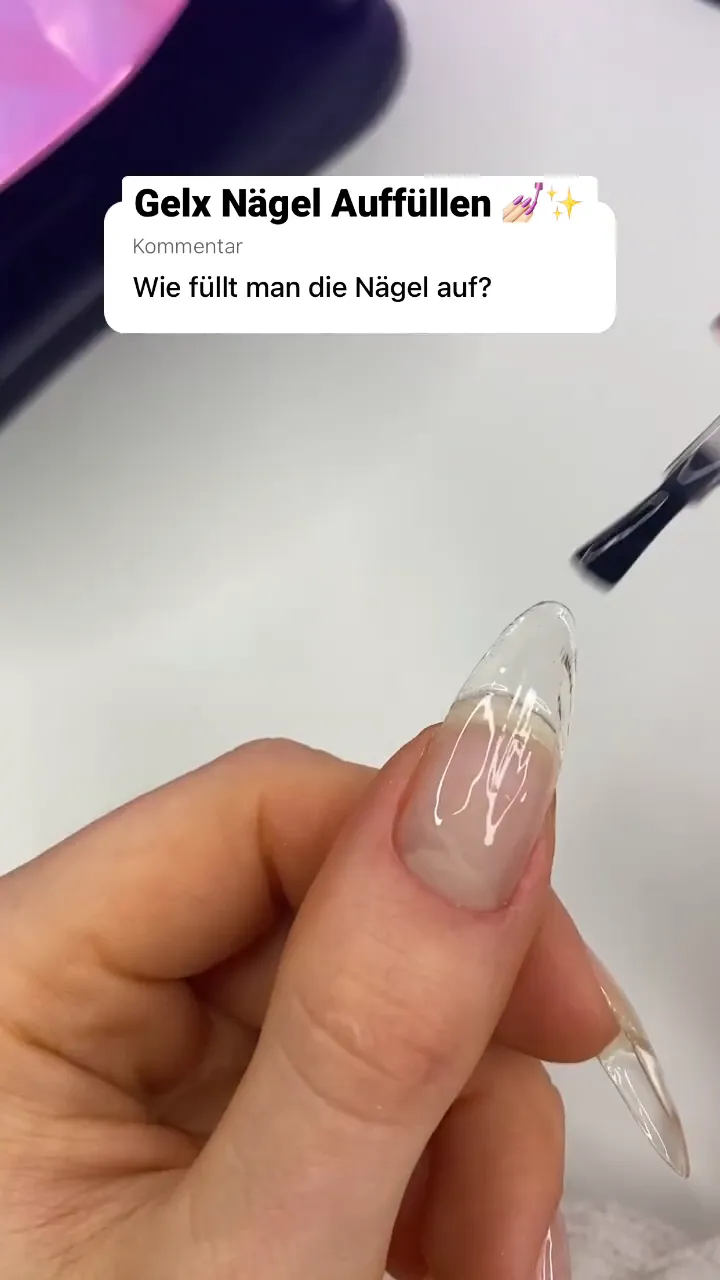
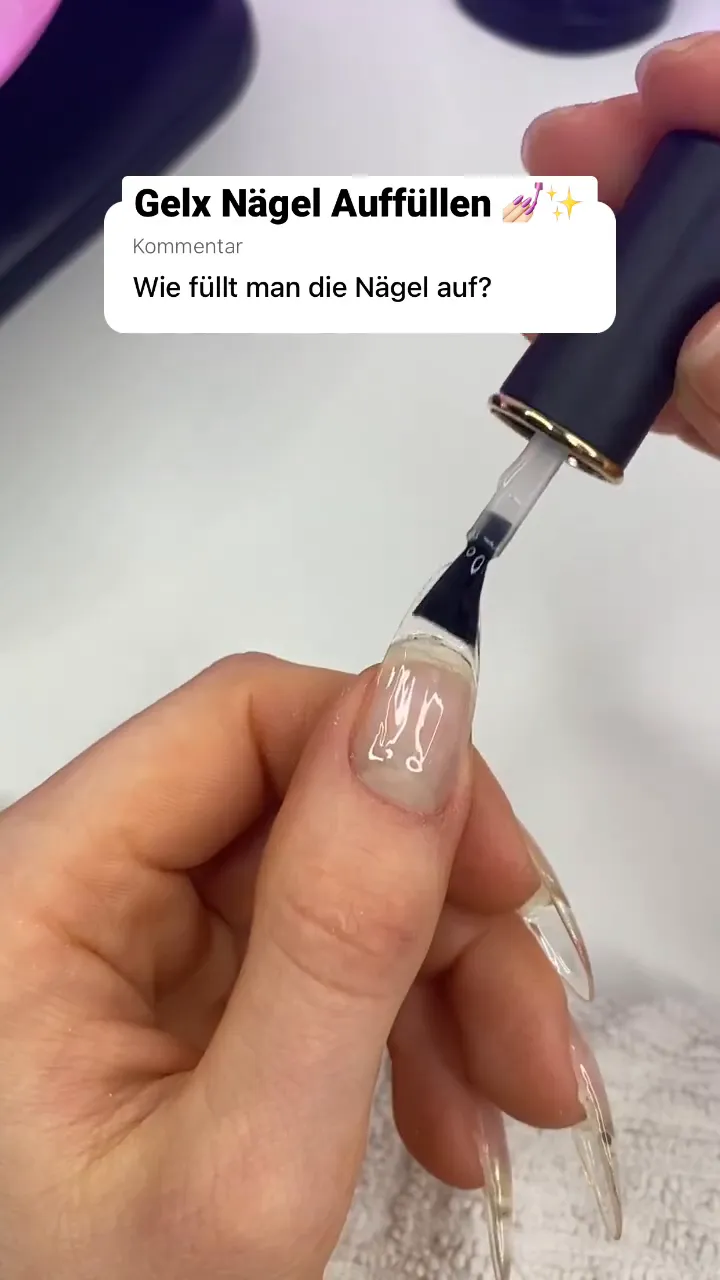
🧪 Applying the base gel
Now the base gel comes into play. I first apply it just to the top edge of the nail without pulling it all the way across the nail. This ensures that the gel is evenly distributed and no overloading occurs.
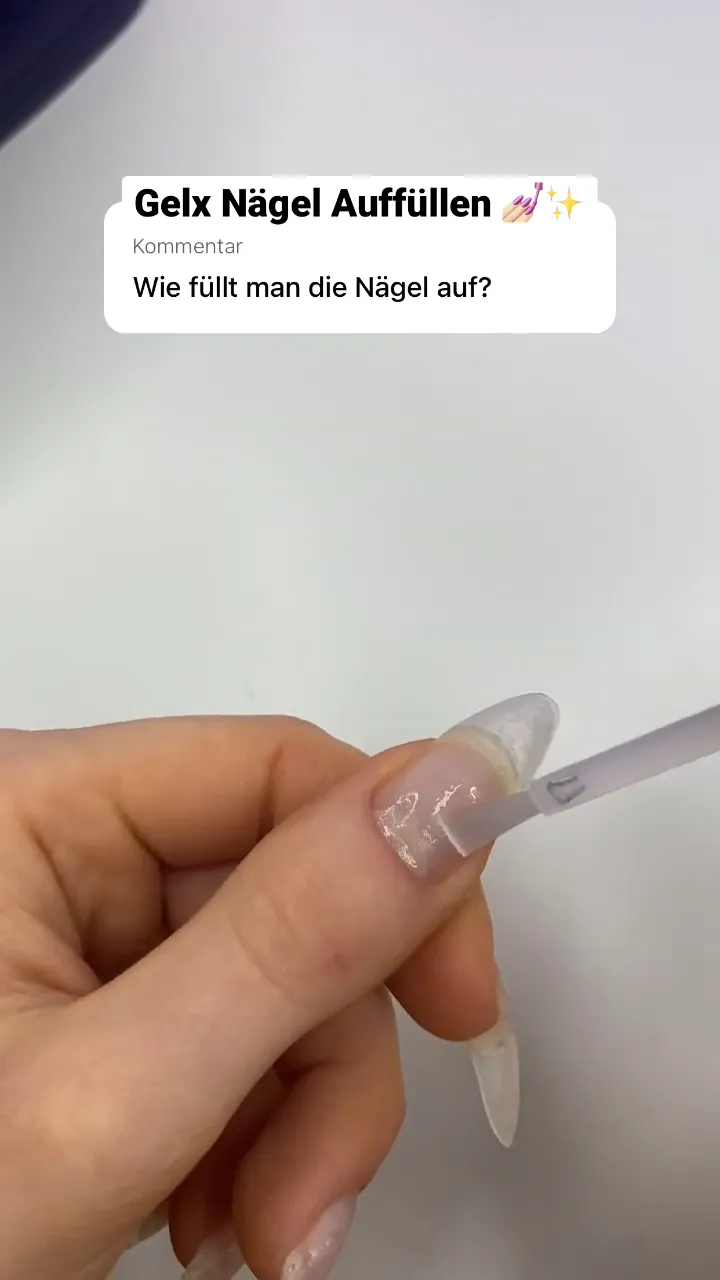
After the first application I let the gel harden. Then I apply a second layer of the base gel to the entire nail. Curing is an important step that I cannot neglect.
🛠️ Shaping and filing
Now it's time to level the surface of the nail. I file the nail into the desired shape to achieve a nice and even finish. This step is crucial to ensure the nail is both aesthetically pleasing and functional.
✨ Finish with topcoat
The final step is applying the topcoat. I apply the topcoat not only to the top of the nail but also to the bottom to increase durability. After application, I let the topcoat cure for five to sixty seconds and voila, the nails are done!
Personally, I like the transparent look, but it doesn't look so nice, especially with natural nails. So for the next part I plan to put a design on the nails.

🎨 Looking ahead to the next design
In the second part I will put a creative design on my nails. This will not only enhance the look but also add a personal touch. Stay tuned to see how I do my nails and what products I use!
I hope this guide helps you successfully fill in your Gelx nails. Have fun trying it out!
Cheers,
Nailx