Nails for Ken from Barbie: A creative DIY project
This blog post is all about the exciting project of creating Barbie style Ken nails. If you missed the last Barbie nails episode, don't worry! Here we'll show you how you can give Ken a stylish update too. Let's get started right away!
🎨 Inspiration and materials
For this project I took inspiration from the last episode where I already did Barbie nails. I wanted to create something unique for Ken and decided on a beautiful blue shade that I chose from our shop. The shade is called “Mannessaftgetits” and is simply perfect for this DIY.
Here are the materials you will need:
- Blue nail polish (man juice getits)
- Green nail polish for the stripes
- White nail polish for the stars
- nail brush or dotting tool
- Top Coat for shine
💅 Step-by-step instructions
Now that we have the materials, let's dive into the steps to create the perfect Ken nails!
1. Preparation of the nails
Start by preparing your nails well. File them into the desired shape and push back the cuticles. Make sure the nails are clean and dry before you start painting.
2. Apply primer
Apply a layer of base coat to protect the nail and increase the durability of the color polish. Let it dry thoroughly.
3rd application of paint
Now comes the fun part! Apply two coats of the blue nail polish to the nails. Allow each coat to dry thoroughly before applying the next.
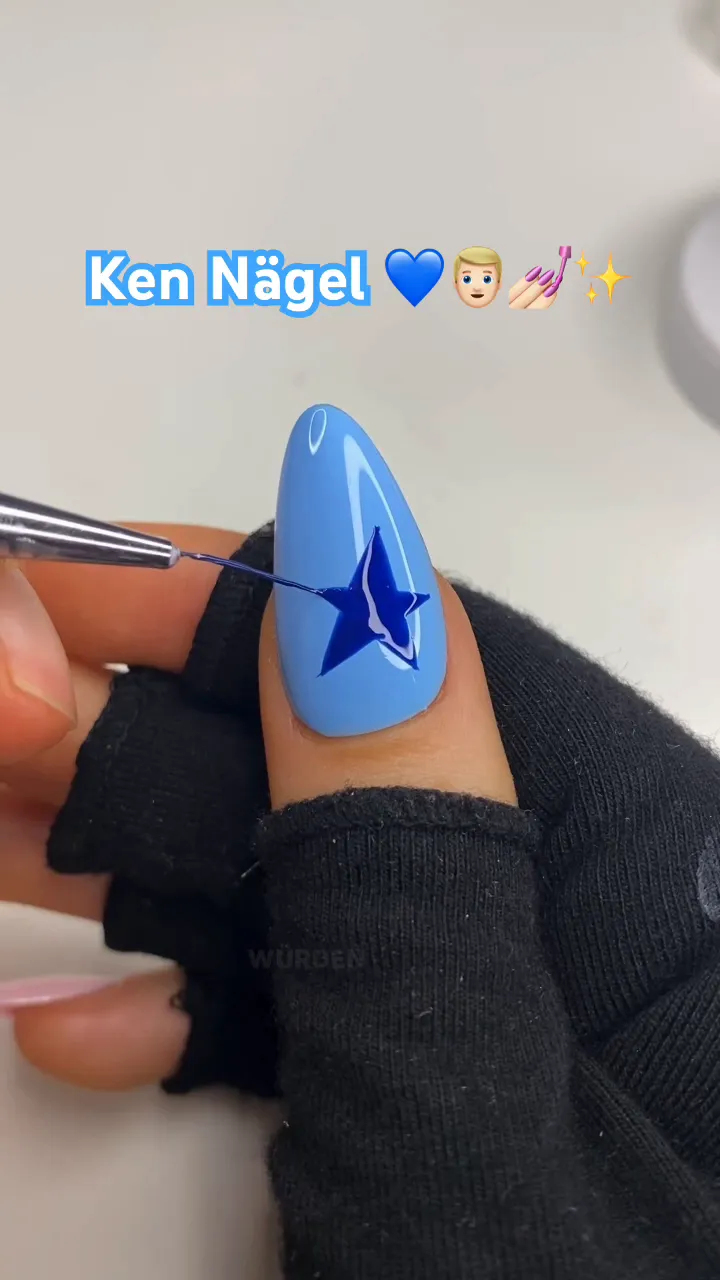
4. Add asterisk
Use a fine brush or dotting tool to paint small white stars on the nails. These little details give your nails that special something.
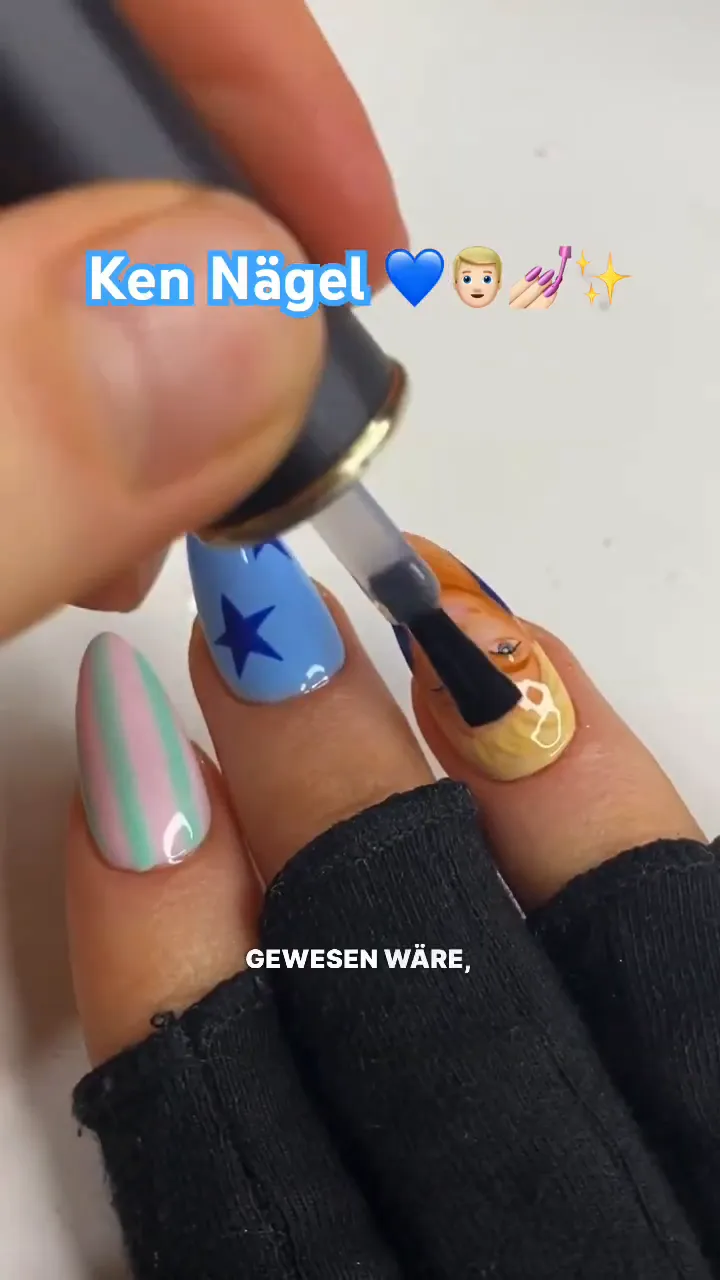
5. Strips for the index finger
For the index finger I made green stripes reminiscent of Ken's shirt. Carefully paint the stripes, making sure they are even.
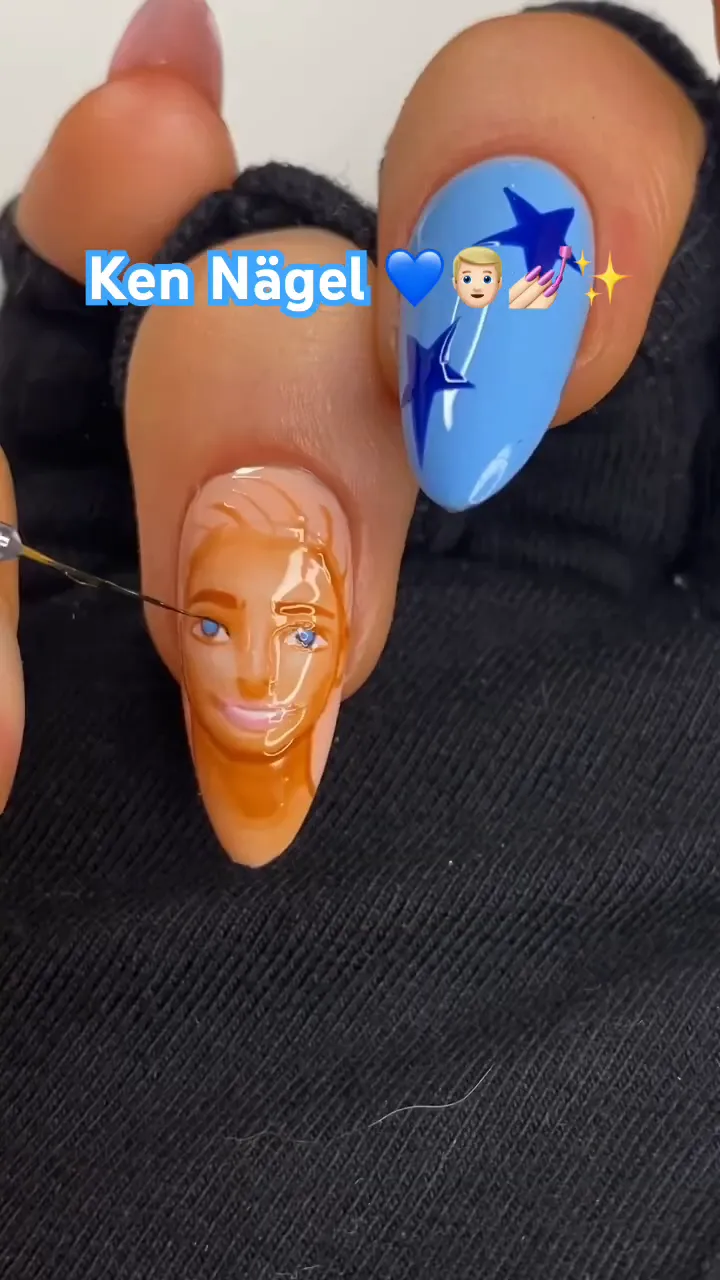
6. Ken portrait on the ring finger
The highlight is the Ken portrait on the ring finger. I tried to sketch a simple portrait. It may seem like Ken has been out in the sun a little too long, but that makes it all the funnier!
7. Apply top coat
To seal the nails and give them a beautiful shine, apply a layer of top coat. This protects your artwork and makes it last longer.
✨ The final result
Here are the finished Ken nails! I'm thrilled with how they turned out and hope you are too. Let me know in the comments whether you would rather wear the Barbie or Ken nails!
👍 Conclusion
This DIY project was not only fun but also provided a creative way to enjoy nail art. Whether you're a fan of Barbie or Ken, the most important thing is that you have fun being creative. Don't forget to like the video if you like the idea!