Tips for bombproof nails 💅🏻
Anyone who has ever put time and effort into nail care knows how frustrating it can be when your nails don't hold up. In this post I'll share some tried and tested tips to ensure your nails stay rock solid and you get the most out of your nail art. Let's go over the key steps you should follow!
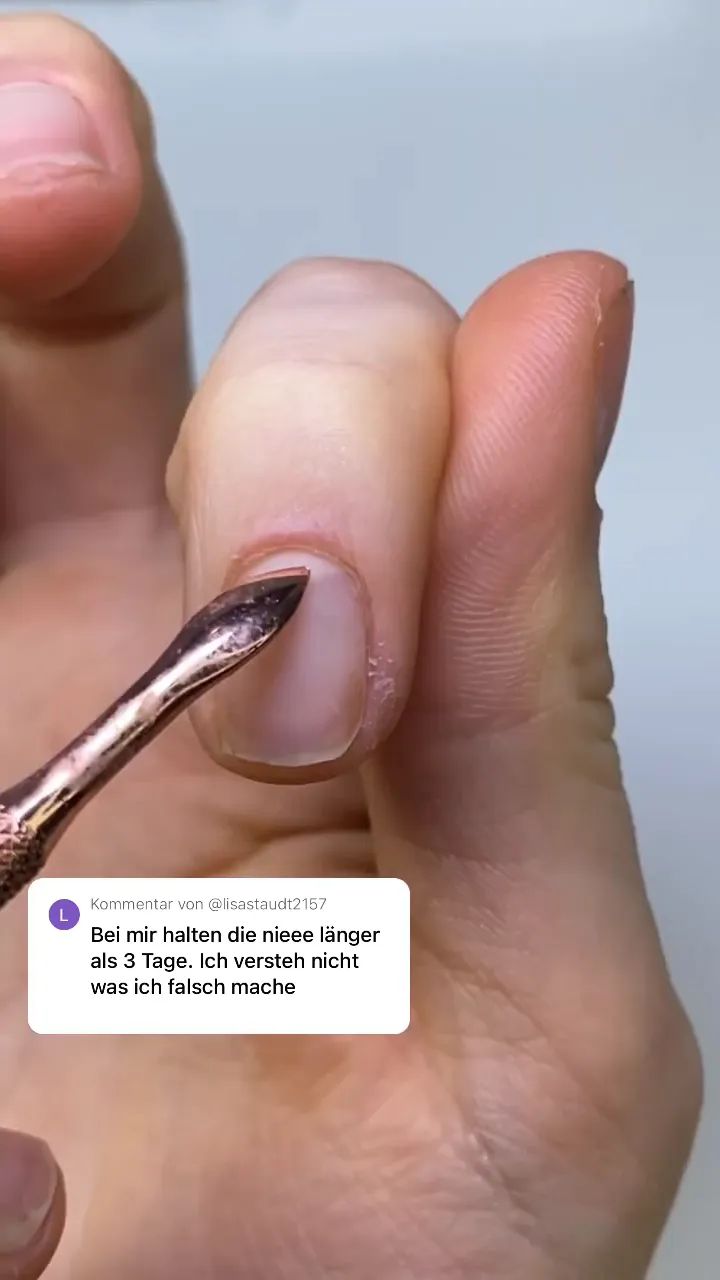
🔍 Removing the cuticles
The first step to improving the durability of your nails is removing red cuticles. It is important to push back and remove the cuticles thoroughly to maintain a clean nail bed. I recommend doing this with a drill bit as it is quick and effective.
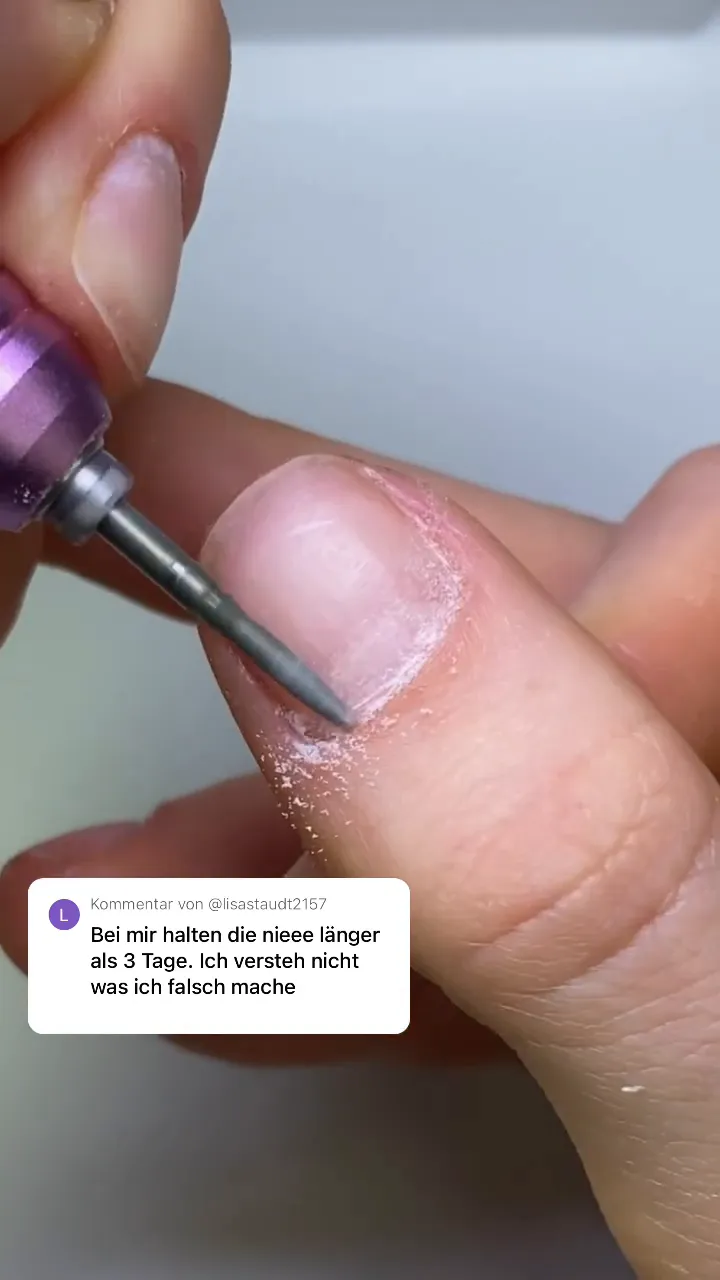
Alternatively, you can use a drugstore cuticle remover if you don't have a drill bit on hand. The goal is to get the nail as clean as possible so the tips will adhere better.
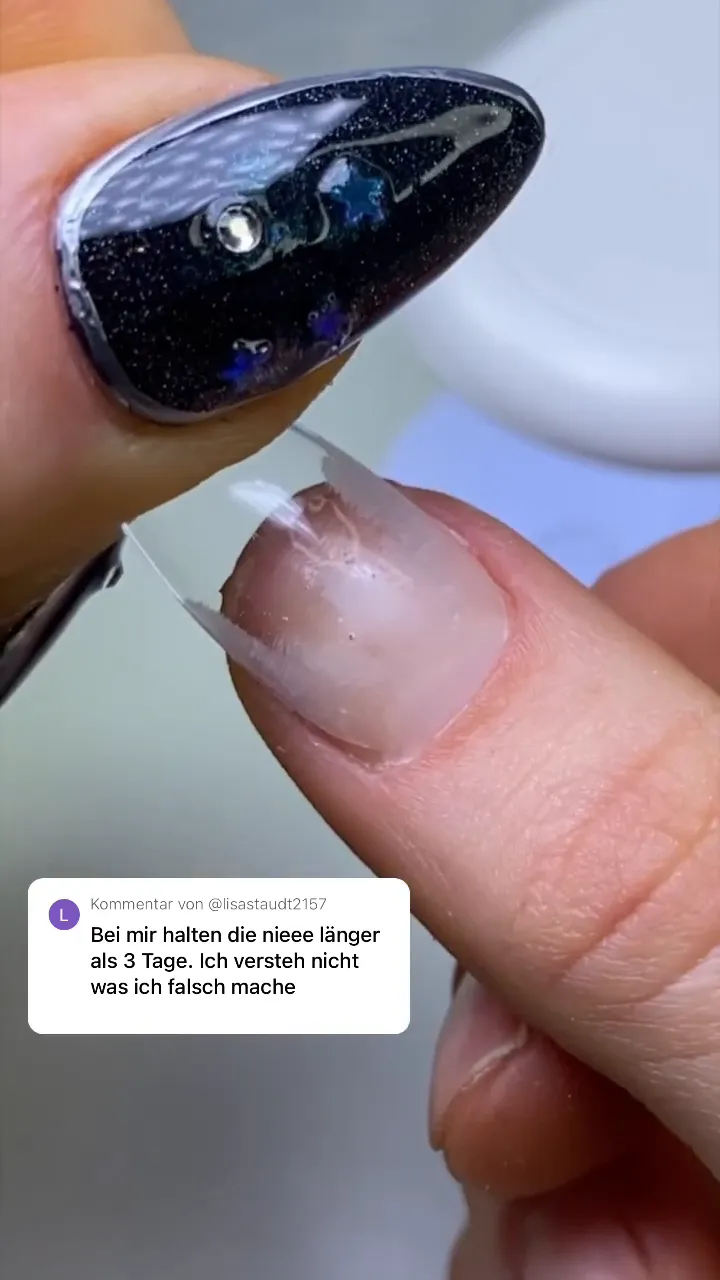
📏 Choosing the right soft tips
The next important step is choosing the right size of soft tips. If the size isn't right, they won't hold up well. Make sure that the tip does not extend beyond the nail. It's crucial to choose a size that fits perfectly from side to side.
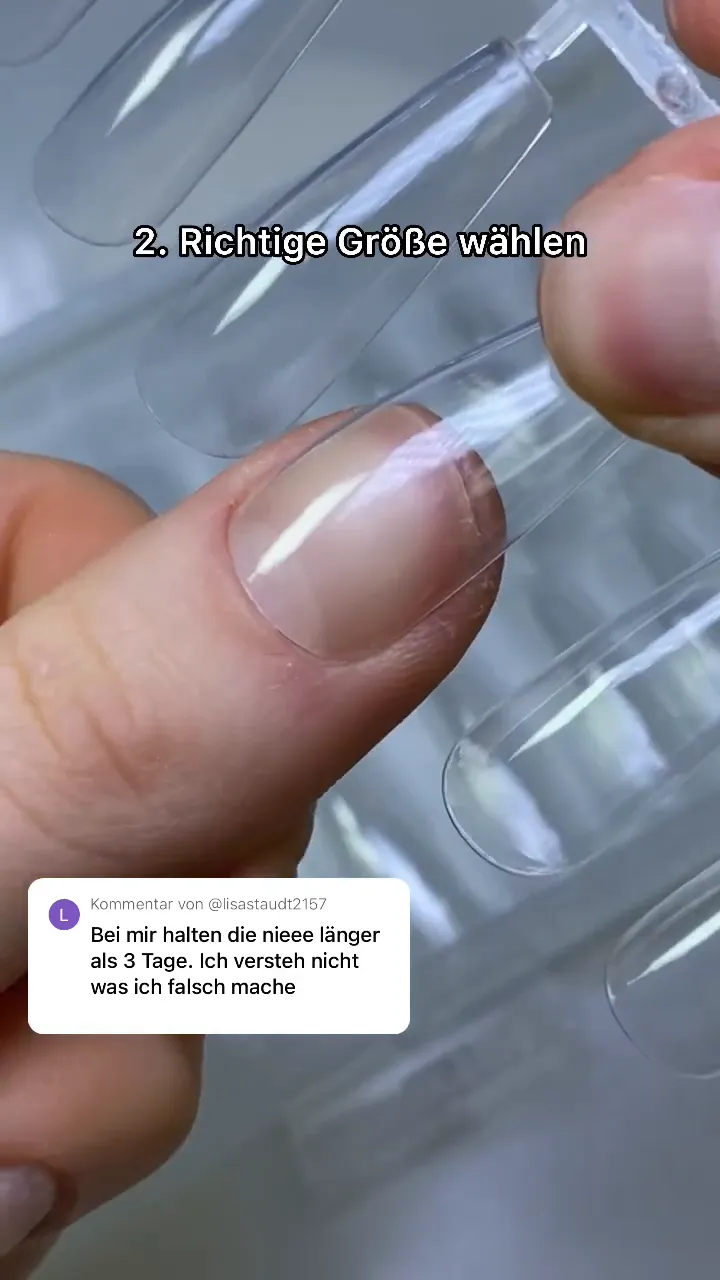
Incorrect size may result in tips not sticking properly and possibly falling off. Take the time to choose the right size as this is the key to a long-lasting result.
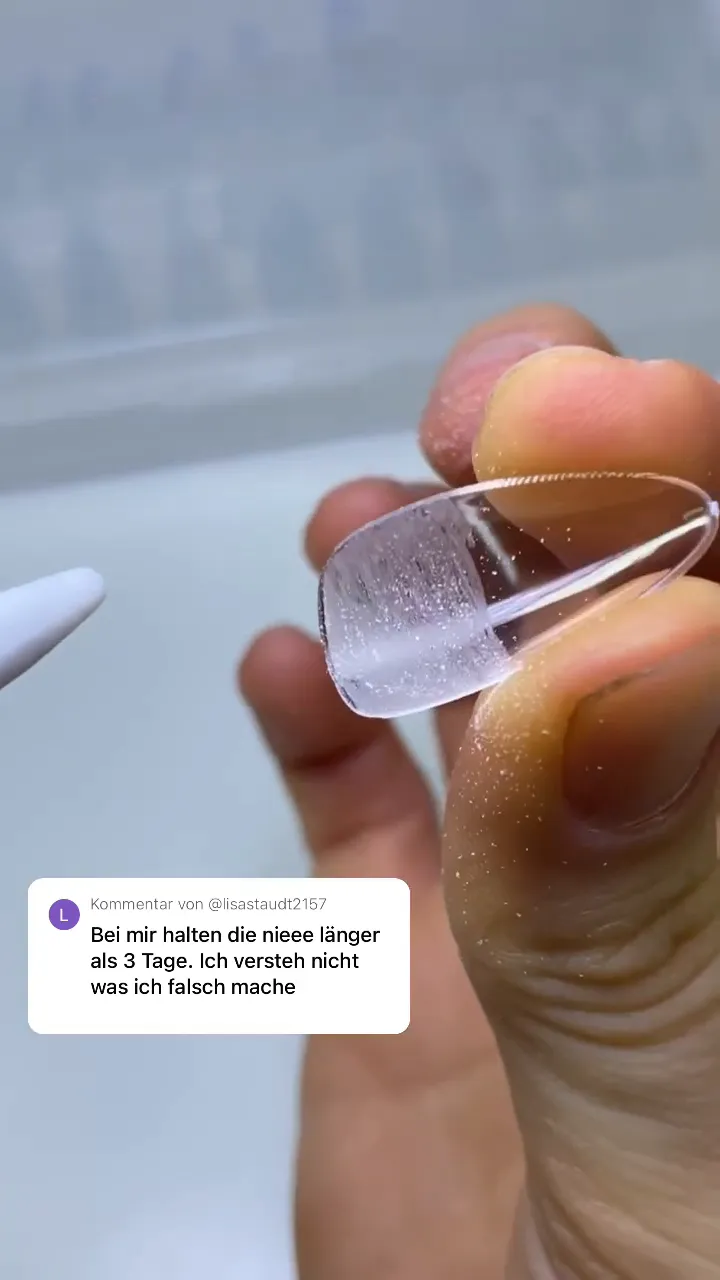
🔧 Roughening the bottom of the tips
Another important tip is to roughen the bottom of the tips. Roughening improves adhesion and ensures that the tip sticks better to the nail. I like to do this with a cutter, but you can also use a cutter if you don't have a cutter.
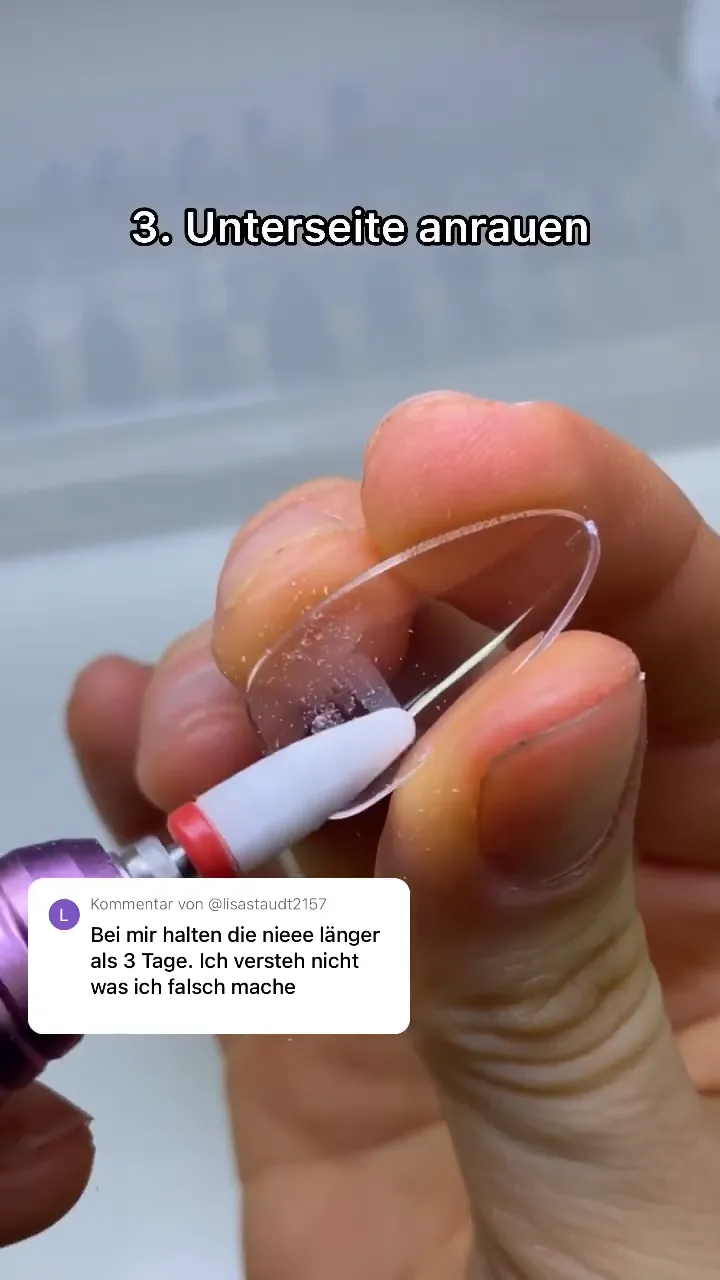
When roughening your nails, make sure you don't forget the top and sides. Lifting can occur particularly on the sides, so it is important to prepare these areas well too.
💧 Using dehydrator and primer
Don't forget to use the dehydrator and primer included in our starter kit. These products help clean the nail bed and ensure better adhesion. It is important to note that these two products do not need to be cured.

Using dehydrator and primer is a crucial step in extending the life of your nails.
⚠️ Avoid blistering
The final tip is to be careful when applying the tips so that there are no bubbles under the tip. If bubbles form, it often means that you didn't use enough gel or that the tip is too big. In this case, you should simply use a little more gel and try again.
Avoiding bubbles is important because they can cause the tips to not stick properly and fall off more quickly.
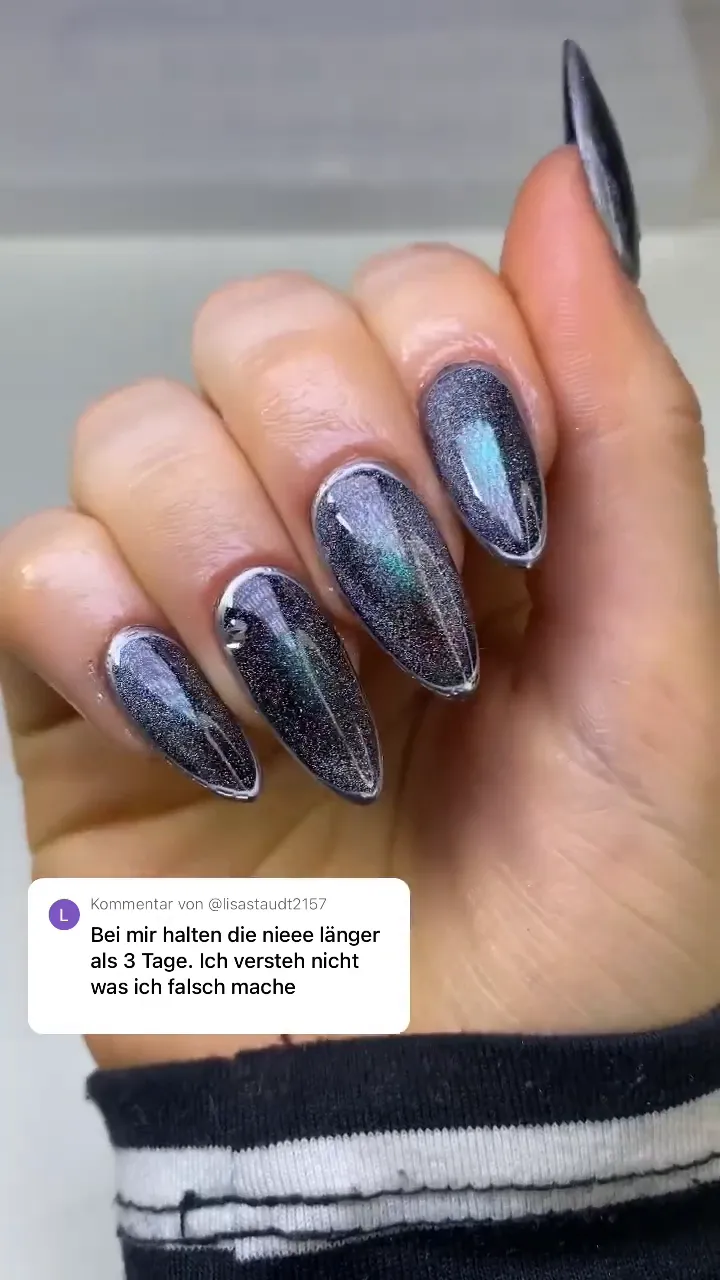
⏳ Long-term results
If you follow all of these tips, your nails will last at least three to five weeks. It is important to be patient and follow the steps carefully to get the best results.
If you want to do your nails yourself, I recommend checking out our Shaga Kids Starter Kit, which includes everything you need to get started.
I hope these tips help you create bomb-proof nails that are not only beautiful but also long-lasting! Have fun trying it out!